Yeast Propagation Steps
Yeast propagation steps are simple and easy to follow for brewers and can save time and money.
These days, it pays to have all of your equipment for yeast cell counting, viability testing, cropping and harvesting, and yes, propagating yeast in house.
Brewers can never be sure when the supply chain will break down or when a middleman company may fail to follow up or follow through.
It is now incumbent upon the brewer to control for as many levels of the brewing process as possible.
Among them is yeast propagation.
Yeast Propagation
Yeast propagation, the process of growing additional yeast from an existing culture, is not new.
For thousands of years, brewers have been working to hone the craft of brewing, and of course yeast management has been one of them.
You see, while in the beginning brewers and vintners may have been thrilled with what they saw as a “miracle” when yeast fermented their brews, it is a stretch to imagine that they remained ignorant of this eukaryotic, single celled, living organism, how it functions, and how to work with it.
We often tell the tale of Louis Pasteur “discovering” yeast in the 1800s as the beginning of any knowledge of yeast, but that tale is a misconception.
While Pasteur did indeed give us a scientific explanation of how the fermentation process played itself out, thanks to his microscope, and was able to give a detailed accounting of the actions of yeast, it would be silly to imagine that brewers never understood the process they had been perfecting for millennia.
Indeed, we have several accounts from the 1500s and 1600s, once the printing press was fully underway, of brewers describing exactly the ingredients they were working with, including yeast, and giving advice on how to grow and reuse yeast for future batches.
The language they used, specifically with various yeasts, tells us this knowledge and practice was already well established long before anyone thought to write it down.
In essence, brewers, bakers, and vintners, may not have known precisely how to define and describe yeast in scientific terms, but they knew that they were working with a living organism that fermented their food and drink.
And the steps for propagating yeast have not changed much since those days.
Yeast Collecting, Cropping, and/or Harvesting
The first step in yeast propagation comes before any propagation at all.
You must decide from where to collect your yeast.
Get access For Free to a detailed manual (25 pages) describing all the steps of the yeast repitching process: How to Reuse Beer Yeast: 3 Steps to Repitching Yeast Slurry
The great value in yeast propagation lies in the savings of money and time.
You can order a small amount of yeast from your favorite manufacturer and increase its biomass in house.
You can also engage in the ancient art of allowing wild yeast to ferment your brew, and then crop and propagate after primary fermentation.
Or you can collect/harvest wild yeast by placing a few dried fruits in a jar of water out under a tree, and propagate from there.
Lastly, you can collect the sediment from your favorite bottle conditioned beer and propagate three or four bottles’ worth once you have rinsed and cropped it.
The point is, brewers have many options in terms of where to get your yeast; most importantly, you are not reliant on a supply chain as a point of necessity.
You can, as our ancestors have done, harvest your own.
Yeast Propagation Steps
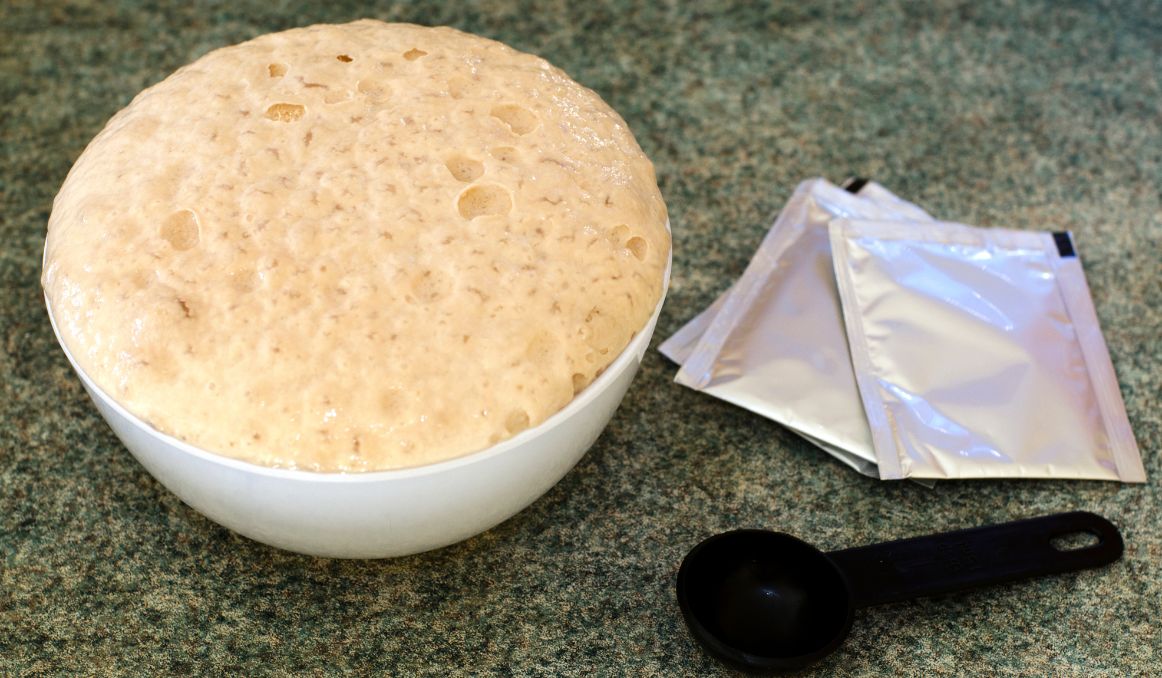
To propagate your yeast, you need only start with a small culture, and if you are working with wild yeast or yeast collected from the dregs of another batch or from bottle conditioned beer, be sure to rinse and crop only the white creamy substance, so you can be sure you have a healthy sampling.
When you propagate your own yeast, you also have the advantage of direct pitching, which means you will be using a live, active, healthy culture of yeast to pitch right into your fresh wort.
Aside from simply allowing nature to take its course and leaving your wort out to be fermented by naturally occurring wild yeast, the direct pitch is probably the most beneficial way to ferment, both for your beer, your brewery, and your loyal beer drinkers.
1-Step-10-Fold Propagation
The most common process for yeast propagation used by brewers is the 1-Step-10-Fold propagation that involves only one step and calls for dividing your desired amount of fermented brew and then pitching your yeast into that volume of wort.
For example, a 20 BBL final fermentation volume will require 2 BBL of wort.
The standard pitch rates are as follows:
- Ales: 1 liter per Barrel of Hectoliter
- Wheats: 1 liter per Barrel or Hectoliter
- Lagers: 2 liters per Barrel or Hectoliter
- High Gravity: 2 liters per Barrel or Hectoliter
Steps for a 20 BBL brewery propagating yeast for a 1.060 gravity Ale:
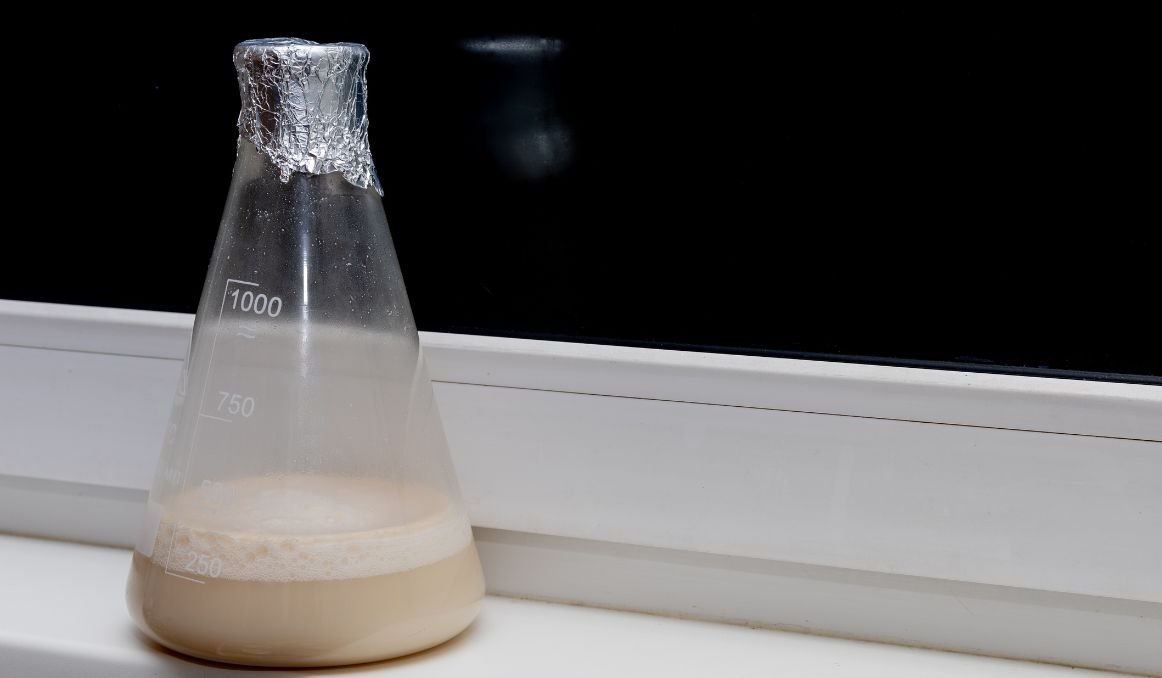
First, you will pitch your fresh yeast into 2 BBL of wort at 70 degrees Fahrenheit. Be sure the wort is well oxygenated so as to ensure an ideal environment for fresh yeast.
Next, allow the wort to ferment for 48 hours. You can also check to be sure 50% to 75% of the gravity drop is reached, which is the expected condition.
Once your gravity has reached its expected drop, add it to the remaining 18 BBL of additional wort.
Finally, confirm you have a yeast cell count of 10-12 million cells per milliliter.
As always, make sure your equipment is sanitized, and that you are taking yeast cell counts every step along the way, so that you can build expectations and track progress.
Once you master the art of yeast propagation, you can begin to build your own bank, work with wild yeast, and pitch multiple batches at once, large or small, adjusting measurements accordingly.
Now you’re on your way.
Cheers!
Yeast activity monitoring is essential for optimizing the process of yeast harvesting and repitching! If you’re interested in finding out how you can use our technology to control fermentation and monitor your yeast, save work hours and improve the cost-efficiency of your business, drop us a line at [email protected] or check out the product pages (for beer or wine):
- Oculyze BB 2.0 (Better Brewing) Yeast Cell Counter App + Hardware
- Oculyze FW (Fermentation Wine) Yeast Cell Counter App + Hardware
Also, you can now get access to a fully functional demo account to test your yeast via our Web App. Completely free of charge and with no commitment to purchase.
Sources:


