How to Reuse Beer Yeast: 3 Steps to Repitching Yeast Slurry
Get access For Free to a detailed manual (25 pages) describing all the steps of the yeast repitching process!
The advantages of saving your yeast and repitching it into your next batches are myriad: from significant cost savings, to helping you obtain quality and consistency and boosting innovation and creativity.

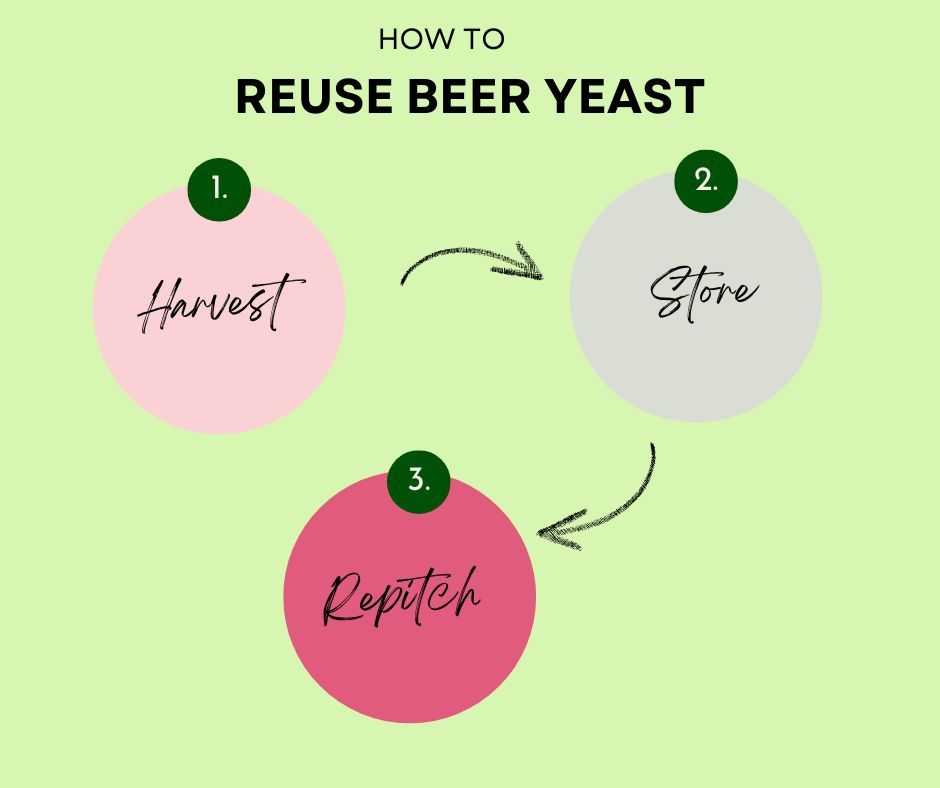
This guide takes you through the 3 essential steps to repitching yeast slurry:
- Step 1: Harvesting (or Cropping) Yeast, with details on when to harvest the yeast (after primary or after secondary fermentation), how to harvest the yeast depending on the type of fermenter you’re using (an open vessel, a conical bottomed fermenter or a dish-bottomed fermenter), rinsing vs washing the yeast and yeast harvesting best practices.
- Step 2: Yeast Storage, with useful tips on how to store the yeast after harvesting and when to dump the yeast.
- Step 3: Re-pitching the Yeast, a section about how the pitching rate can impact your beer, how much yeast to pitch, whether you need a yeast starter or not and how to actually pitch your yeast.
Just fill in your name and email address and we’ll send you the .pdf document via email.
And if you have any additional questions whatsoever, do not hesitate to send us an email at [email protected] and our fermentation specialists will be happy to assist you!


