How to Wash Yeast for Reuse
In these uncertain times with economic inflation on the rise and not seeming to come down anytime soon, learning to save money by rinsing or washing your yeast is a thing to be proud of.
Indeed, brewers tend to be conscious of how and where to reduce costs so they don’t pass rising prices on to their customers, so reusing yeast is simply a part of that mindfulness.
The thing to remember is that there is a difference between rinsing and washing, both have their place, and both have their costs and benefits.

Yeast
First, let’s talk about our product. It is important to know that the critical ingredient in beer, yeast, is a living organism that will thrive in most warm, sugar rich environments.
It does not need much help, but we can do harm without realizing it.
The primary goal with yeast is to keep it viable, which means you have a lot of live, active yeast cells in your batch.
The ideal viability is above 95%, meaning more than 95% of the yeast cells in your batch are alive and ready to ferment.
The bare minimum is 70% for most brewers, though you will learn your own minimums and ideals as you go.
Yeast is a eukaryotic, singled celled organism that can reproduce with or without oxygen and thrive in environments over 100 degrees Fahrenheit and survive, though they lie dormant, in temperatures down to freezing. It can also reproduce sexually or asexually.
So yes, it is hardy.
And contrary to what many think, yeast does not die during or after fermentation unless alcohol is added to the brew, usually for purposes of fortification, or the brew is boiled for whatever reason.
And while dry yeast is perfectly acceptable, live, active yeast offers many opportunities to reuse, to grow, and to explore different strains and varieties.
What Happens During Fermentation
Having said all of that, before we get to rinsing and washing, it helps to understand what is happening to the yeast you plan to reuse while it is fermenting.
Fermentation, as we said, is not a death sentence for yeast. Indeed, it allows yeast to actually reproduce, so you will ideally have more yeast after fermentation than you did going in.
Just like how yeast sourdough starters feed on flour, brewer’s yeast feeds on your wort, growing in the process.
But once fermentation is done, your yeast will be all mixed up with the rest of the sediment that went into the wort and that was produced during fermentation.
At the end of the fermentation process, you are likely to have hops, dead yeast cells, and other debris floating on the top of your vessel or collected down at the bottom.
So first, you’ll need to crop your yeast.
Cropping Yeast
To crop, or “collect,” your yeast from the wort, it pays to have a conical tank that will allow you to see all of the debris, including your yeast, at the bottom.
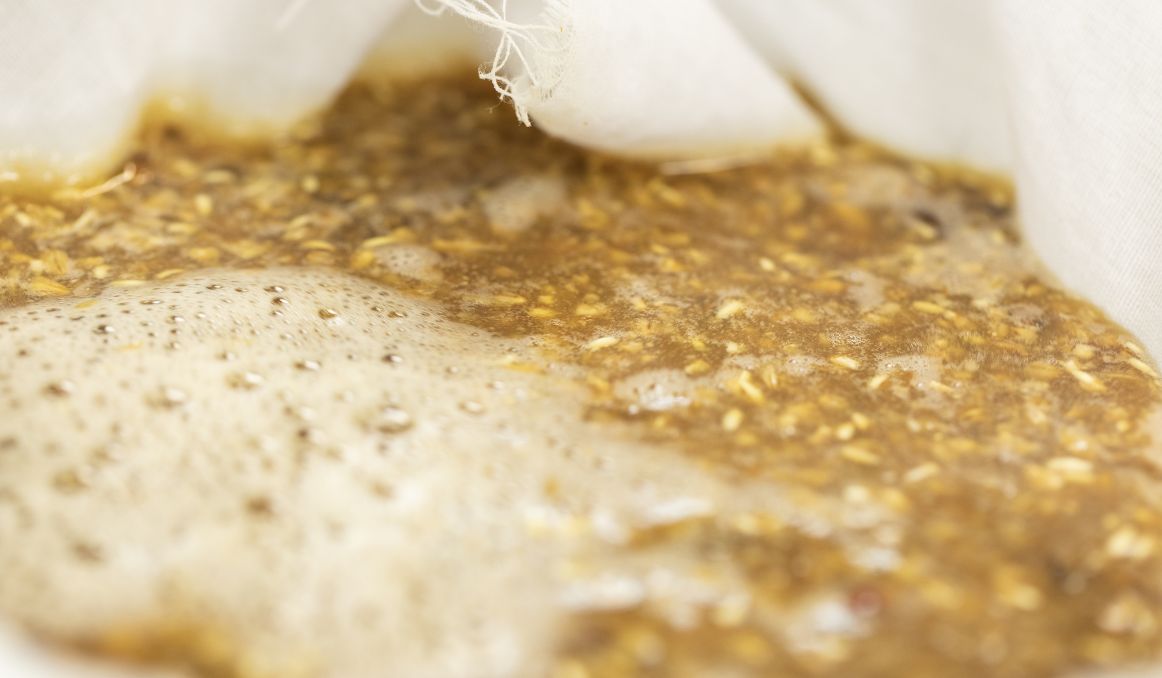
After you have drained all of your beer out of the tank, you will be left with three distinct layers – the top layer is your yeasty liquid, or “slurry,” the middle layer is your milky white yeast, and the bottom layer is your thick brown trub.
The trub is all the sediment that remains in your vessel that is not yeast.
When you crop for yeast, open your drain to allow the trub to drain out, then collect the remaining yeast and liquid in a separate, sanitized container.
Once again, allow the yeast and liquid to settle, and you will find your reusable, viable yeast drops to the bottom of the container, while the slurry settles on top.
To simply reuse that yeast, you will pour the liquid from the top of the container in one fluid motion and then pour your yeast to pitch.
Alternatively, you can either rinse your yeast, wash it, or both.
Rinsing or Washing Yeast: What’s the Difference?

To rinse your yeast, you are merely ensuring all slurry and trub has been removed from the viable yeast you want to use.
You can take that same container from above with your yeast and slurry and add clean water to the container, about twice as much as the yeast and slurry you have.
Then swirl the contents around for a couple of minutes and place the container in a refrigerator overnight.
After about 24 hours, you will notice that any existing trub settles at the bottom of the container as it is much heavier than the rest of the contents, and the yeast settles on top, with the water above it all, just like it was in your fermentation tank.
To collect your yeast, you can pour the water off the top and then pour your yeast out into a new container until you get to the trub, which you can discard.
You can repeat this process as often as you like to get rid of all old trub.
From here, you can grow the yeast into a yeast bank, or you can repitch it as many as 10 times if you continue to follow this process.
Washing yeast is an entirely different situation. With washing yeast, you will use a chemical called phosphoric acid to be sure absolutely no contaminants remain.
Be aware though, that even washing your yeast will not remove wild yeast or bacteria, as this is a food grade chemical designed not to kill off all your yeast.
Still, this chemical process will indeed lower the viability of your yeast, so be sure to check your cell count before pitching.
To wash yeast, you simply follow the same process as above, and using only as much yeast as you plan to pitch immediately, and mix a food grade phosphoric acid into the slurry, swirling it around for several minutes until the pH reaches between 2.2 and 2.5.
Keep your yeast at this pH for 90 minutes to 2 hours, stirring continuously, and then pitch it in to your wort!
Cheers!
Yeast activity monitoring is essential for optimizing the process of yeast harvesting and repitching! If you’re interested in finding out how you can use our technology to control fermentation and monitor your yeast, save work hours and improve the cost-efficiency of your business, drop us a line at [email protected] or check out the product pages (for beer or wine):
- Oculyze BB 2.0 (Better Brewing) Yeast Cell Counter App + Hardware
- Oculyze FW (Fermentation Wine) Yeast Cell Counter App + Hardware
Also, you can now get access to a fully functional demo account to test our Web App. Completely free of charge and with no commitment to purchase.
Sources:


