How to Keep Beer Yeast Alive
It’s no longer feasible to simply buy yeast, use it once, and toss the slurry into a wastebin.
Not that it was every really feasible; brewers are well-known for their cost-effective practices, as we always have to be mindful of where the pennies are going. Those pennies make a huge difference when it comes to staying alive as a brewery and continuing to offer excellent, consistent product to our customers.
And with so many great yeast strains out there now to experiment with, which allows us to further innovate and bring new flavors, textures, and aromas to our loyal customers, it pays off in dividends to learn to save your yeast.
But how do you save it? And how do you keep beer yeast alive?
Harvesting Beer Yeast
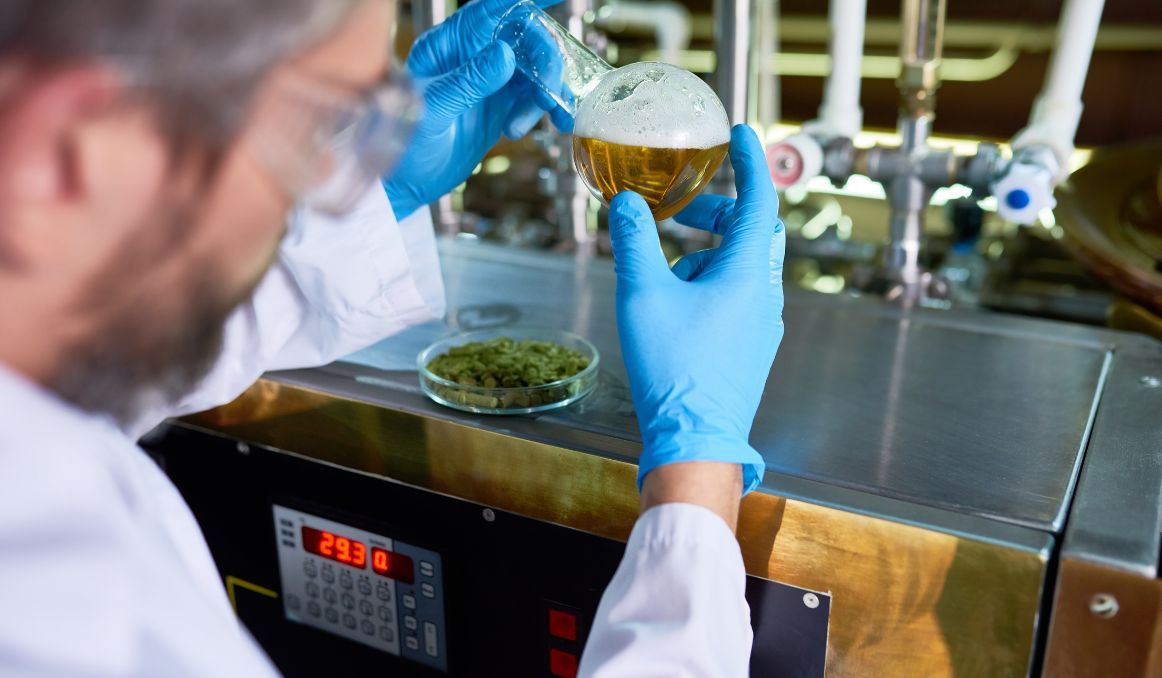
There exist a variety of reasons and ways to harvest yeast.
Perhaps you know you love a certain strain and simply want to grow your own yeast bank.
Maybe you just bought a six pack that blew your mind, and you want to harvest the residual yeast in the bottle to experiment with.
Or you recently made an amazing batch of beer, and you want to preserve the yeast to use again and again for consistency.
Either way, the harvesting process is simple, and many brewers large and small begin building a yeast bank with a growing range of yeast strains to choose from for future pitching.
When done correctly, you can store your yeast for several months or even years and count on it to perform like it did that very first time you fell in love.
Culturing Yeast
When harvesting yeast, you can take a small amount of the yeast in your packet, from your bottle, or from your own batch, and “culture it,” essentially preserving it for several months, and even longer, until you are ready to use it.
When culturing any yeast, be sure you are working in a sterile environment with sterilized equipment. You don’t want anything getting into your yeast culture unnecessarily and ruining your big pitch months from now.
The best method for culturing yeast is to use petri dishes, which you can purchase sterilized in plastic sheets.

For culturing with these dishes, first prepare a growth medium, the “food” your yeast will survive on for the months of storage.
Heat 1 cup of tap water in a pan on the stove.
Add ¼ cup of dried malt extract DME and bring to a boil for 15 minutes, stirring constantly and watching for boil overs.
Turn down heat and add ½ teaspoon of agar or unflavored gelatin powder and bring to a boil for another 15 minutes, watching again for boil overs.
Remove from stove and allow to cool completely, during which time you will notice the mixture thickening but not hardening.
Next, fill each of your sterilized petri dishes with the mixture to about ¼ of its capacity, and allow to cool further, for about 30 minutes.
Finally, take a sterilized inoculation loop and swipe it gently through the yeast you wish to culture. Then touch that loop to your petri dish mixture lightly, just enough to get the yeast onto the surface of your gelatinous contents, quickly close the dish and turn it upside down. Do this for each petri dish.
Keep those plates as and where they are, for several days, at room temperature (70 degrees to 80 degrees Fahrenheit), until you notice a milky layer developing on the surface of your medium.
Any plates with fuzz or balls have mold and should be discarded (this is the value of creating multiple dishes.
You have now successfully cultured your yeast. Seal the dishes with electrical tape, label them with the name of your strain, and store them that way until you are ready to use.
Bottle or Batch?
If you are culturing from already used yeast, as opposed to freshly arrived yeast in the pack, you will need to rinse your yeast first, ensuring you get rid of as much unwanted sediment as possible.
To do this with a bottle of beer you love, simply drain the bottle of beer into a glass and leave the sediment at the bottom. To get enough yeast to harvest, you will likely have to use two or three bottles.
Then pour that sediment into a sanitized container and add clean, filter tap water.
Put the container into the fridge overnight, and you will see your yeast sitting at the bottom of the container with a thick film of “trub” on top and then the water on top of that. Discard the water, scrape out the trub, and repeat the process, until you have a clear batch of yeast.
Then culture that yeast as described above.
If you are harvesting from your own batch, a great idea is to ensure you have another batch ready to pitch relatively quickly after you are finishing up your existing batch, so you can crop, culture, and repitch all at once, that way you don’t waste any yeast.
For this process, you will simply drain out your fully fermented beer, “racking” it.
At the bottom of your cone vessel, you will see three layers, slurry, yeast, and trub. You want the middle layer of yeast, so drain out your slurry, collect your yeast, and discard your trub.
You can then rinse it as described in the bottle harvesting above until you have what looks like clean yeast and culture as above.
Keep Your Yeast Alive
Culturing your yeast will extend its lifetime well beyond the two weeks most fresh yeast lasts in the refrigerator, so you have time to explore with all of your options and allows you to build a nice healthy yeast bank.
Just be sure to label your yeast with both name and date.
When you are ready to pitch it, you can simply propagate your yeast by growing it with a small batch of wort and getting it to proper pitch levels.
Cheers!
Yeast activity monitoring is essential for optimizing the process of yeast harvesting and repitching! If you’re interested in finding out how you can use our technology to control fermentation and monitor your yeast, save work hours and improve the cost-efficiency of your business, drop us a line at [email protected] or check out the product pages (for beer or wine):
- Oculyze BB 2.0 (Better Brewing) Yeast Cell Counter App + Hardware
- Oculyze FW (Fermentation Wine) Yeast Cell Counter App + Hardware
Also, you can now get access to a fully functional demo account to test our Web App. Completely free of charge and with no commitment to purchase.
Sources:


