Recording images with the yeast cell counter
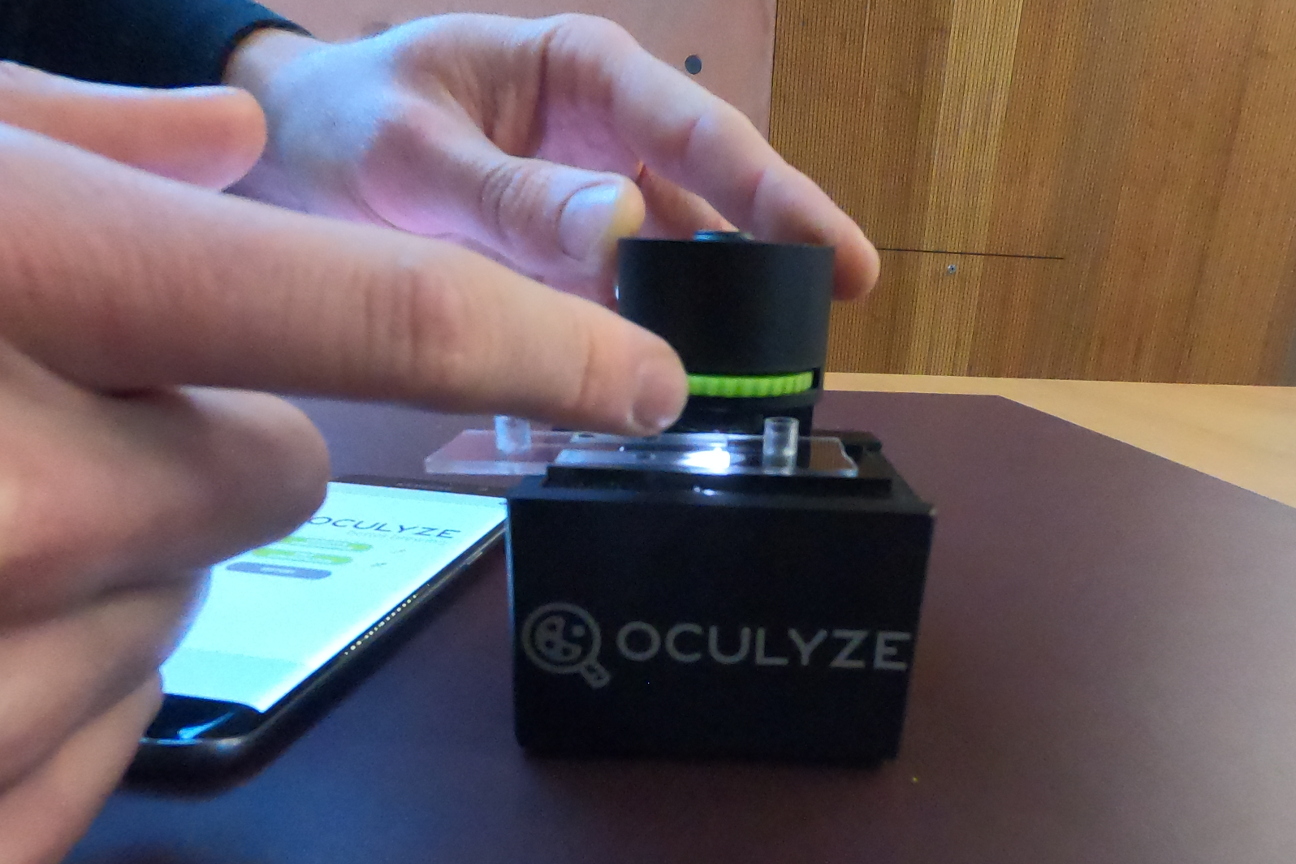
After the measurement has begun, a live image of the microscope will be displayed. If this image is blurry, the sample must be focused by turning the focus wheel on the hardware.
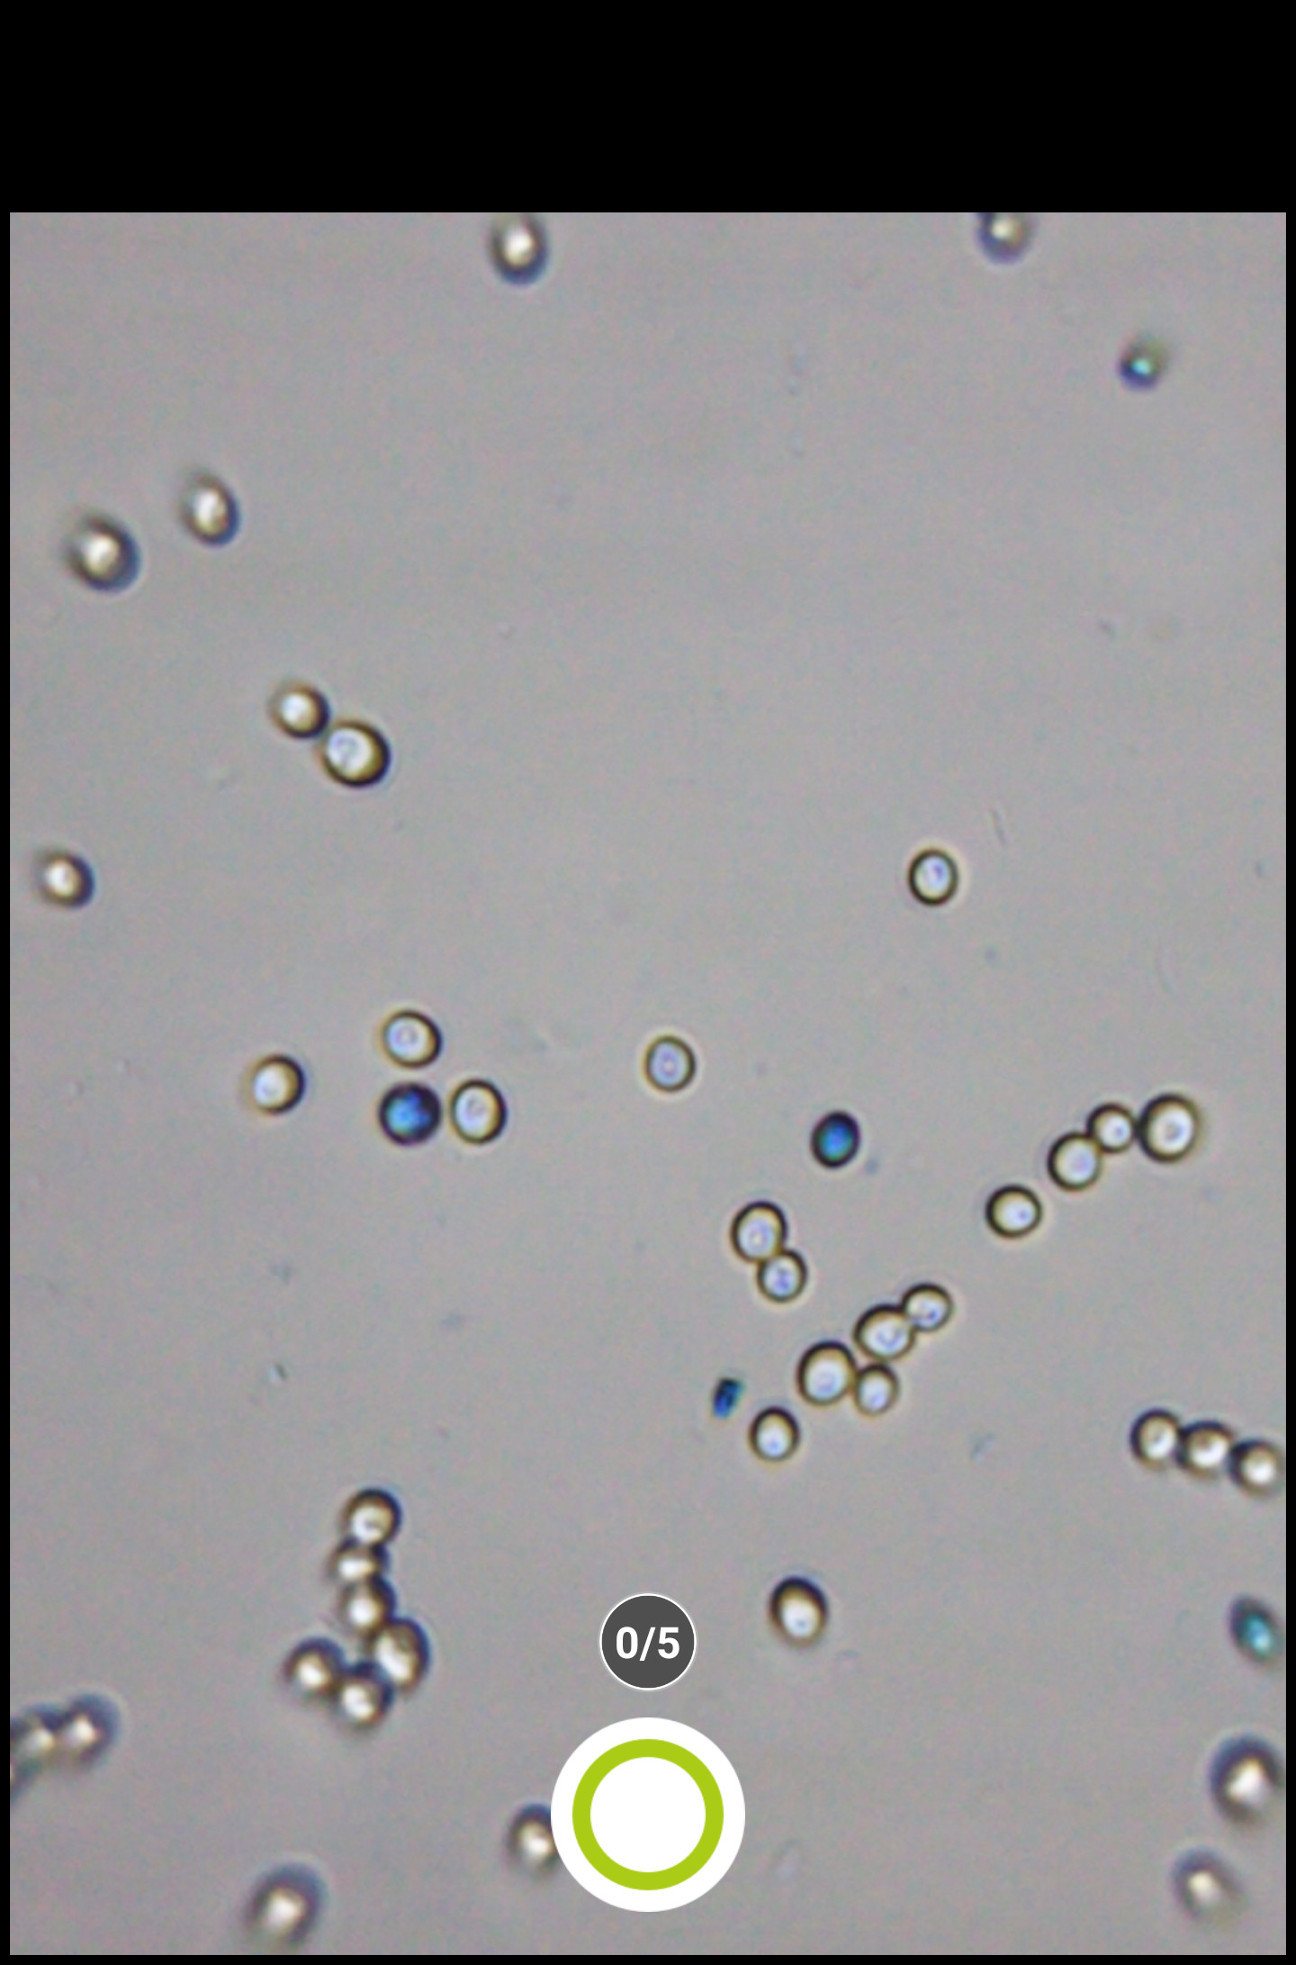
You should see a clear image of the cells in the middle of the screen before taking a picture.
Adjusting the focus wheel to apply light pressure to the sample chamber is enough to bring the cells into focus to see them clearly. When using a new yeast cell microscope, a little bit more pressure is needed, since the pads for the chamber fixing compress with repeated usage.
Screwing it too tightly will lead to blurry pictures and may damage the sample chamber or even the device itself. An indicator to this overfocus is the yeast cell itself. As it gets squeezed by the chamber it changes shape and it seems to start turning blue. This is because the light breaks differently on the cells. If you notice this change in hue, just release the focus a bit until the cells are clear again. Now you have the sharpest image possible.
Pictures can be taken using the green – white button. The counter above the button shows how many pictures have been taken already.
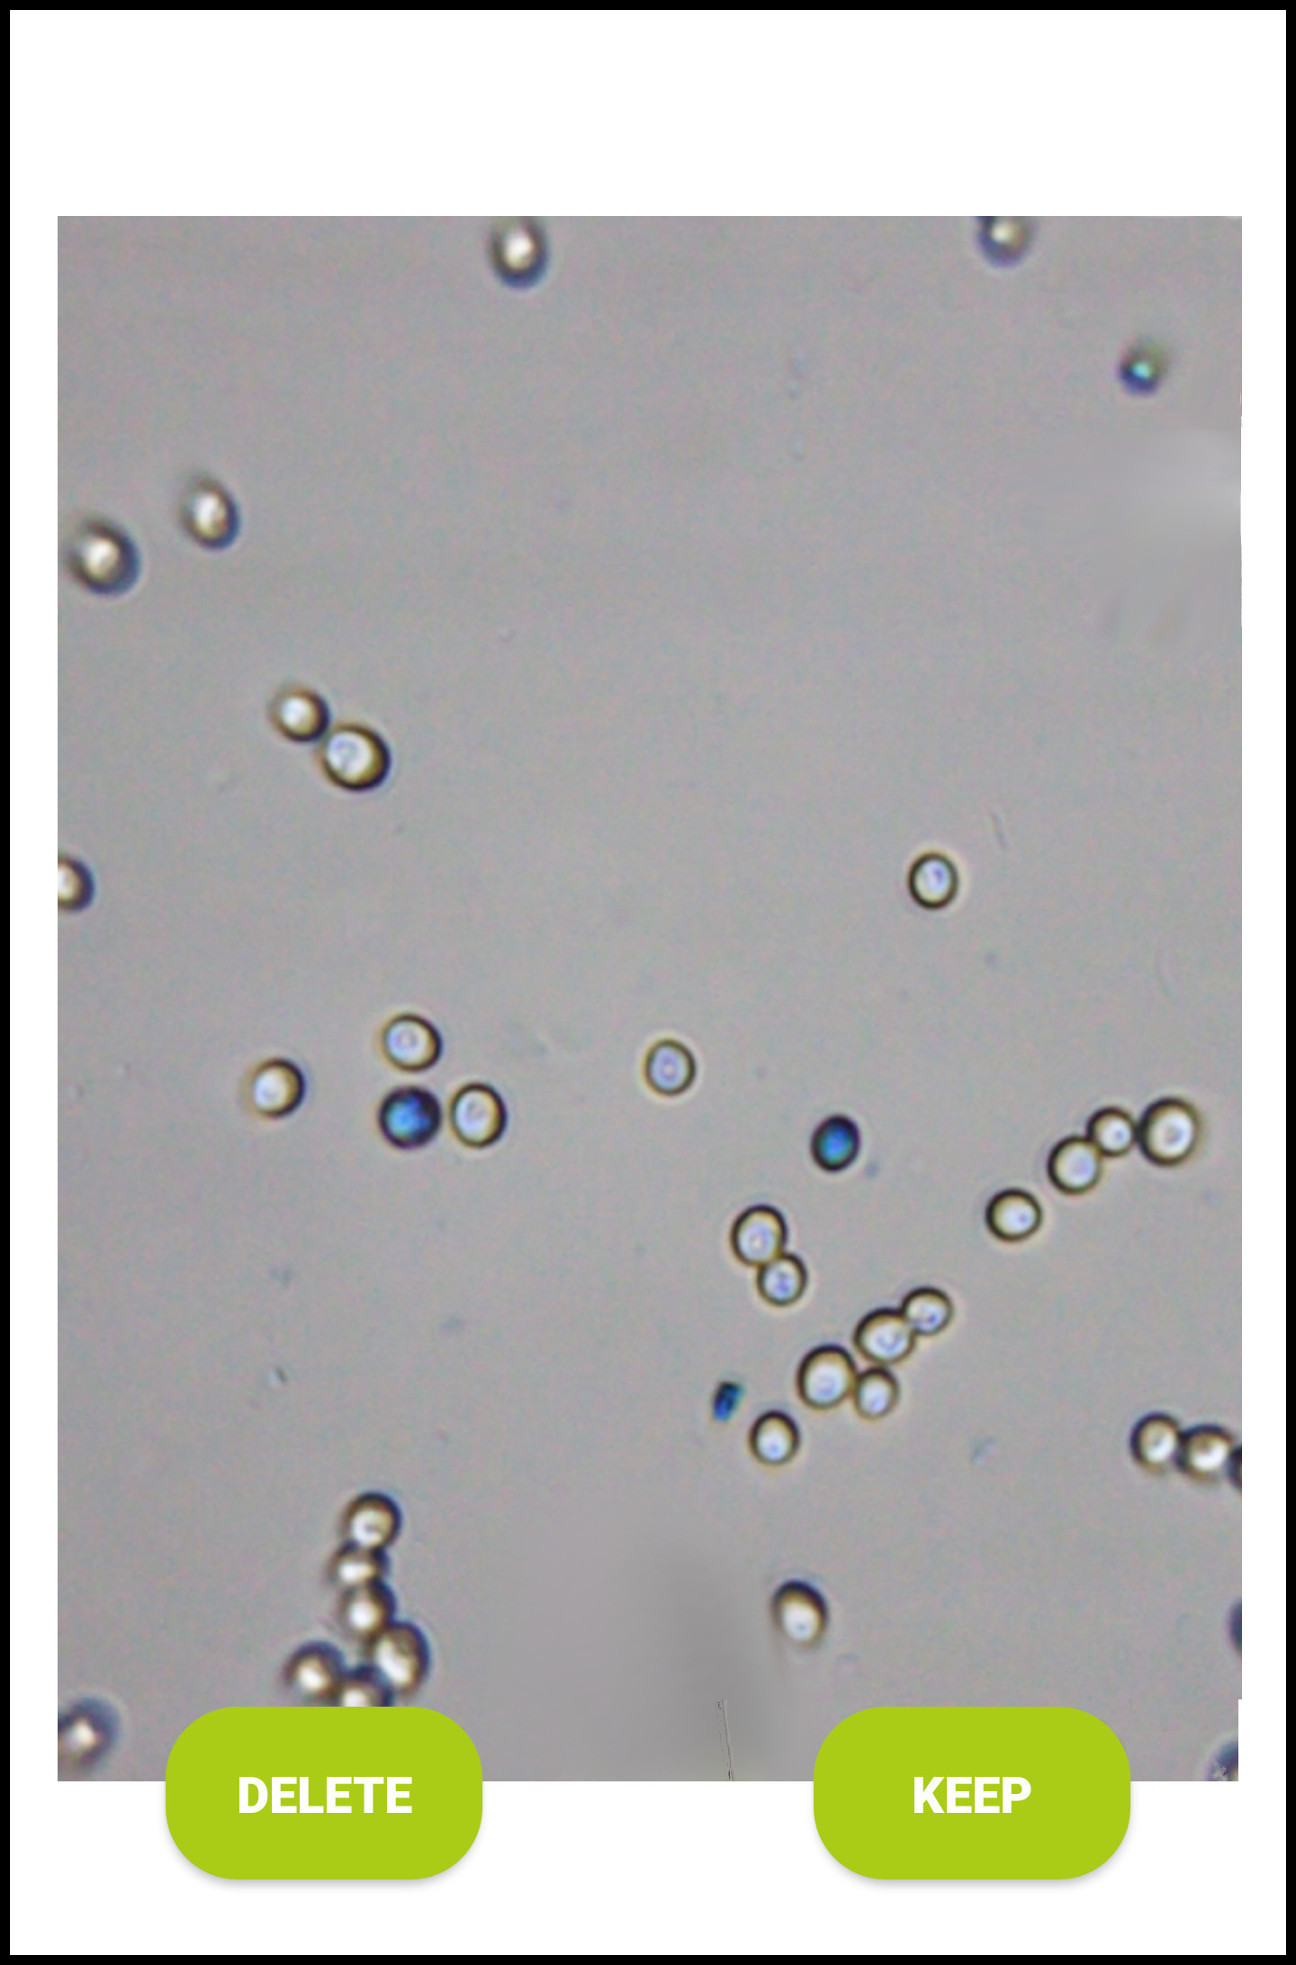
After the picture is taken, that picture will be displayed on your screen. Using the “Delete” and “Keep” button, the user may decide whether to dispose of the picture or to keep it for analysis. The app also performs an initial automated quality check of the image. If the image contains far too many yeast cells or is significantly blurry, a message will be displayed, and the “Keep” button will be greyed out. In this case, you must delete the image using the “Delete” button.
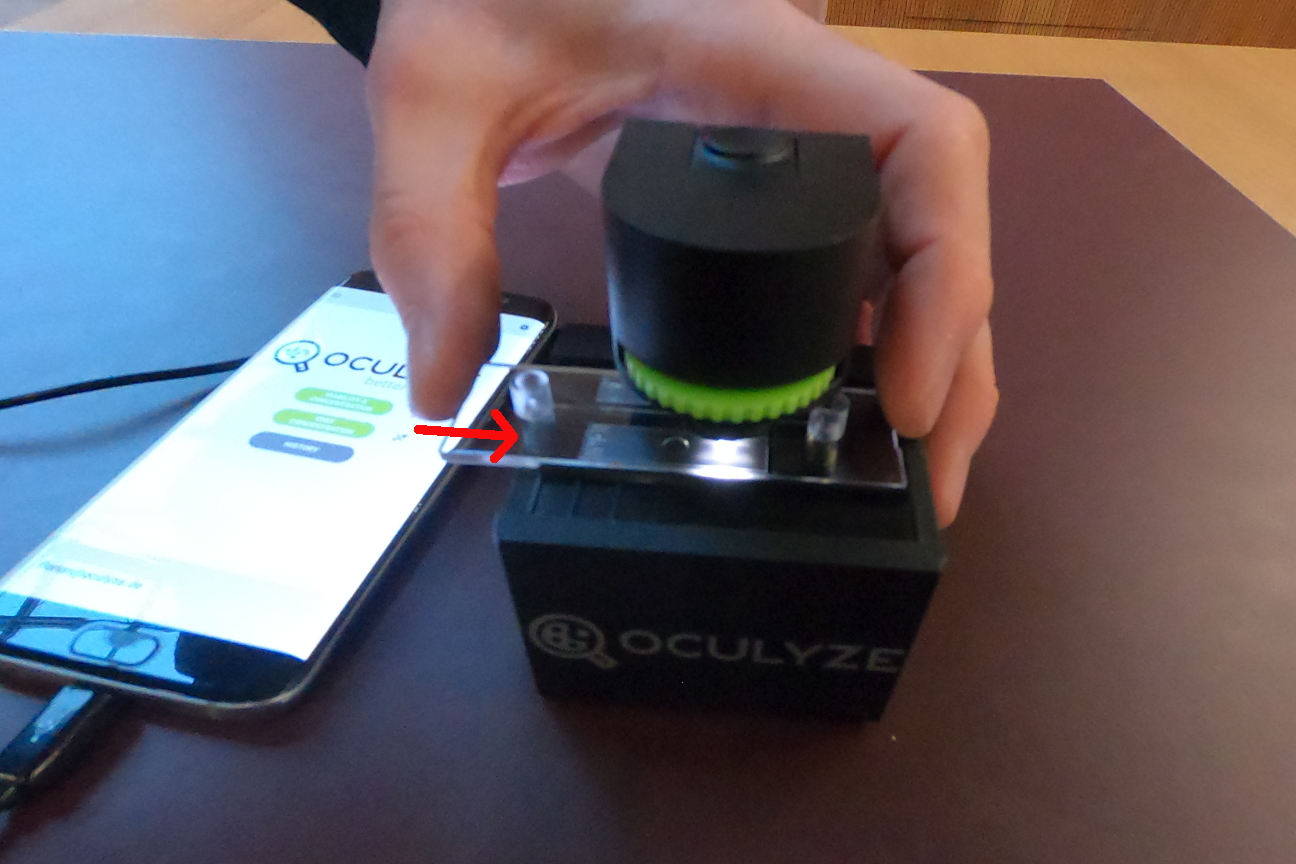
Depending on the app settings, between 1 and 10 images must be taken for each analysis. The default option is 5 pictures. The sample chamber must be moved somewhat between each image so that different cells can be recorded. To do so, you have to loosen the focus wheel, then push the chamber to the next marking and readjust the focus after each image is taken. Should an image be discarded, a replacement image must be recorded.
In summary – to take pictures for the analysis, the following steps are performed:
Step 1: connect the microscope via cable to your mobile device and open the mobile app;
Step 2: put the chamber into the microscope and slide it up to its first marking;
Step 3: choose in the app whether you want to conduct a measurement with or without viability;
Step 4: now adjust the focus wheel of the microscope until you see a sharp image on your mobile device;
Step 5: take the picture and click “keep” to add the image to the analysis;
Step 6: release the focus wheel a bit to move the chamber to the next marking to take the next image;
Step 7: repeat the steps above to take 5 images.
After all images are taken, the sample data can be entered.