Sample measurement for automatic cell counting with an external camera
Sample preparation and loading of the counting chamber are no different from your current manual procedure. If you are not sure about these steps, please note the information on Sample Preparation. Make sure that your yeast cell counting chamber is properly prepared. For instructions on preparing, loading and maintaining your counting chamber, please refer to the manufacturer’s instructions.
A measurement is carried out the same way as with the Oculyze microscope. The grid of the counting chamber is not required after calibration. It is recommended to take the pictures in a chamber area without a grid. If present in the image, the grid is ignored by Oculyze image recognition and normally does not affect the measurement.
When taking the picture, make sure that the pictures are optimally in focus and do not appear too dark or too bright. Otherwise the analysis can be impaired. The brightness can be adjusted using the two sun symbols in the upper left corner. Alternatively, the intensity of the illumination on the microscope can be readjusted.
Example Images
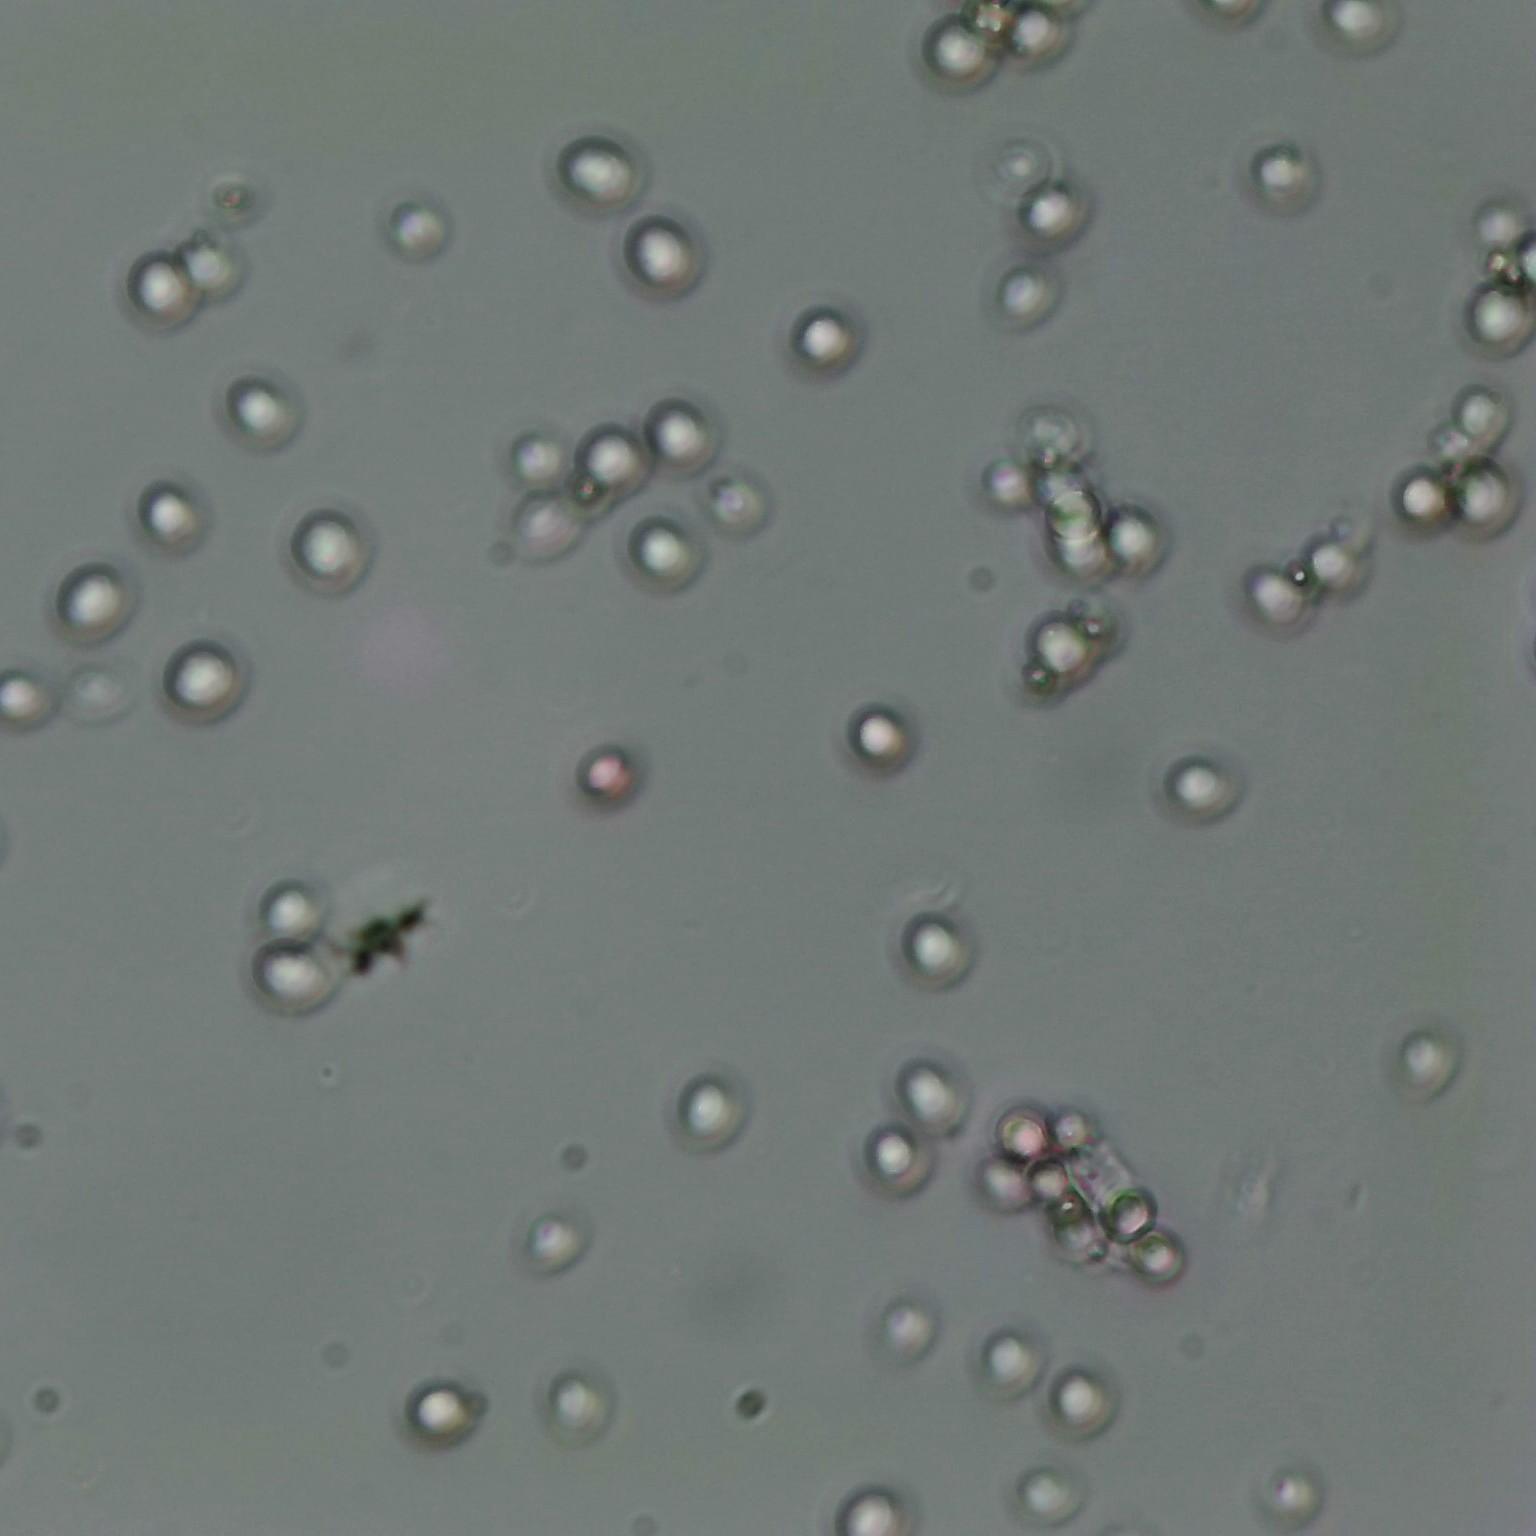
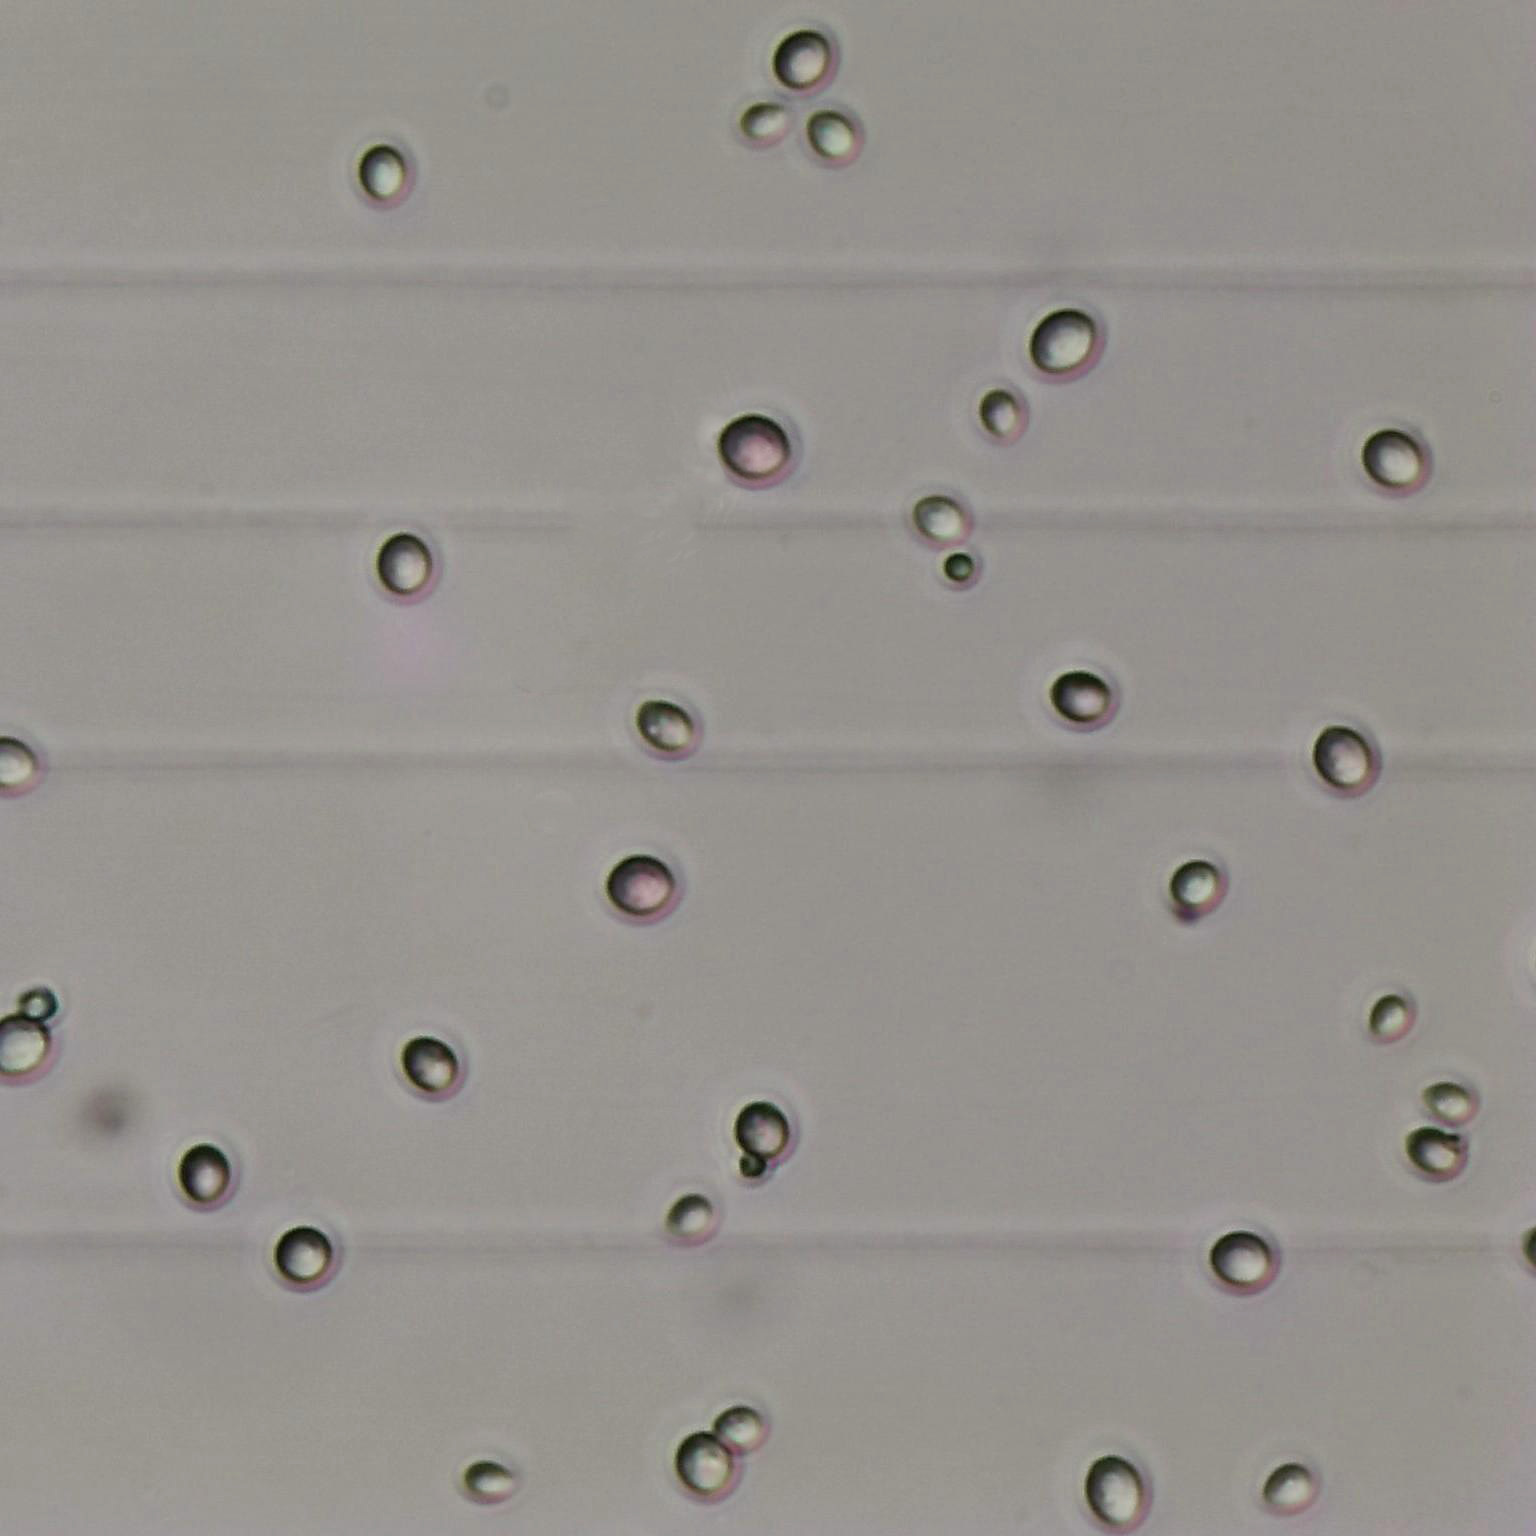
These images show examples of optimal and non-optimal focus in the same image section with good image brightness:
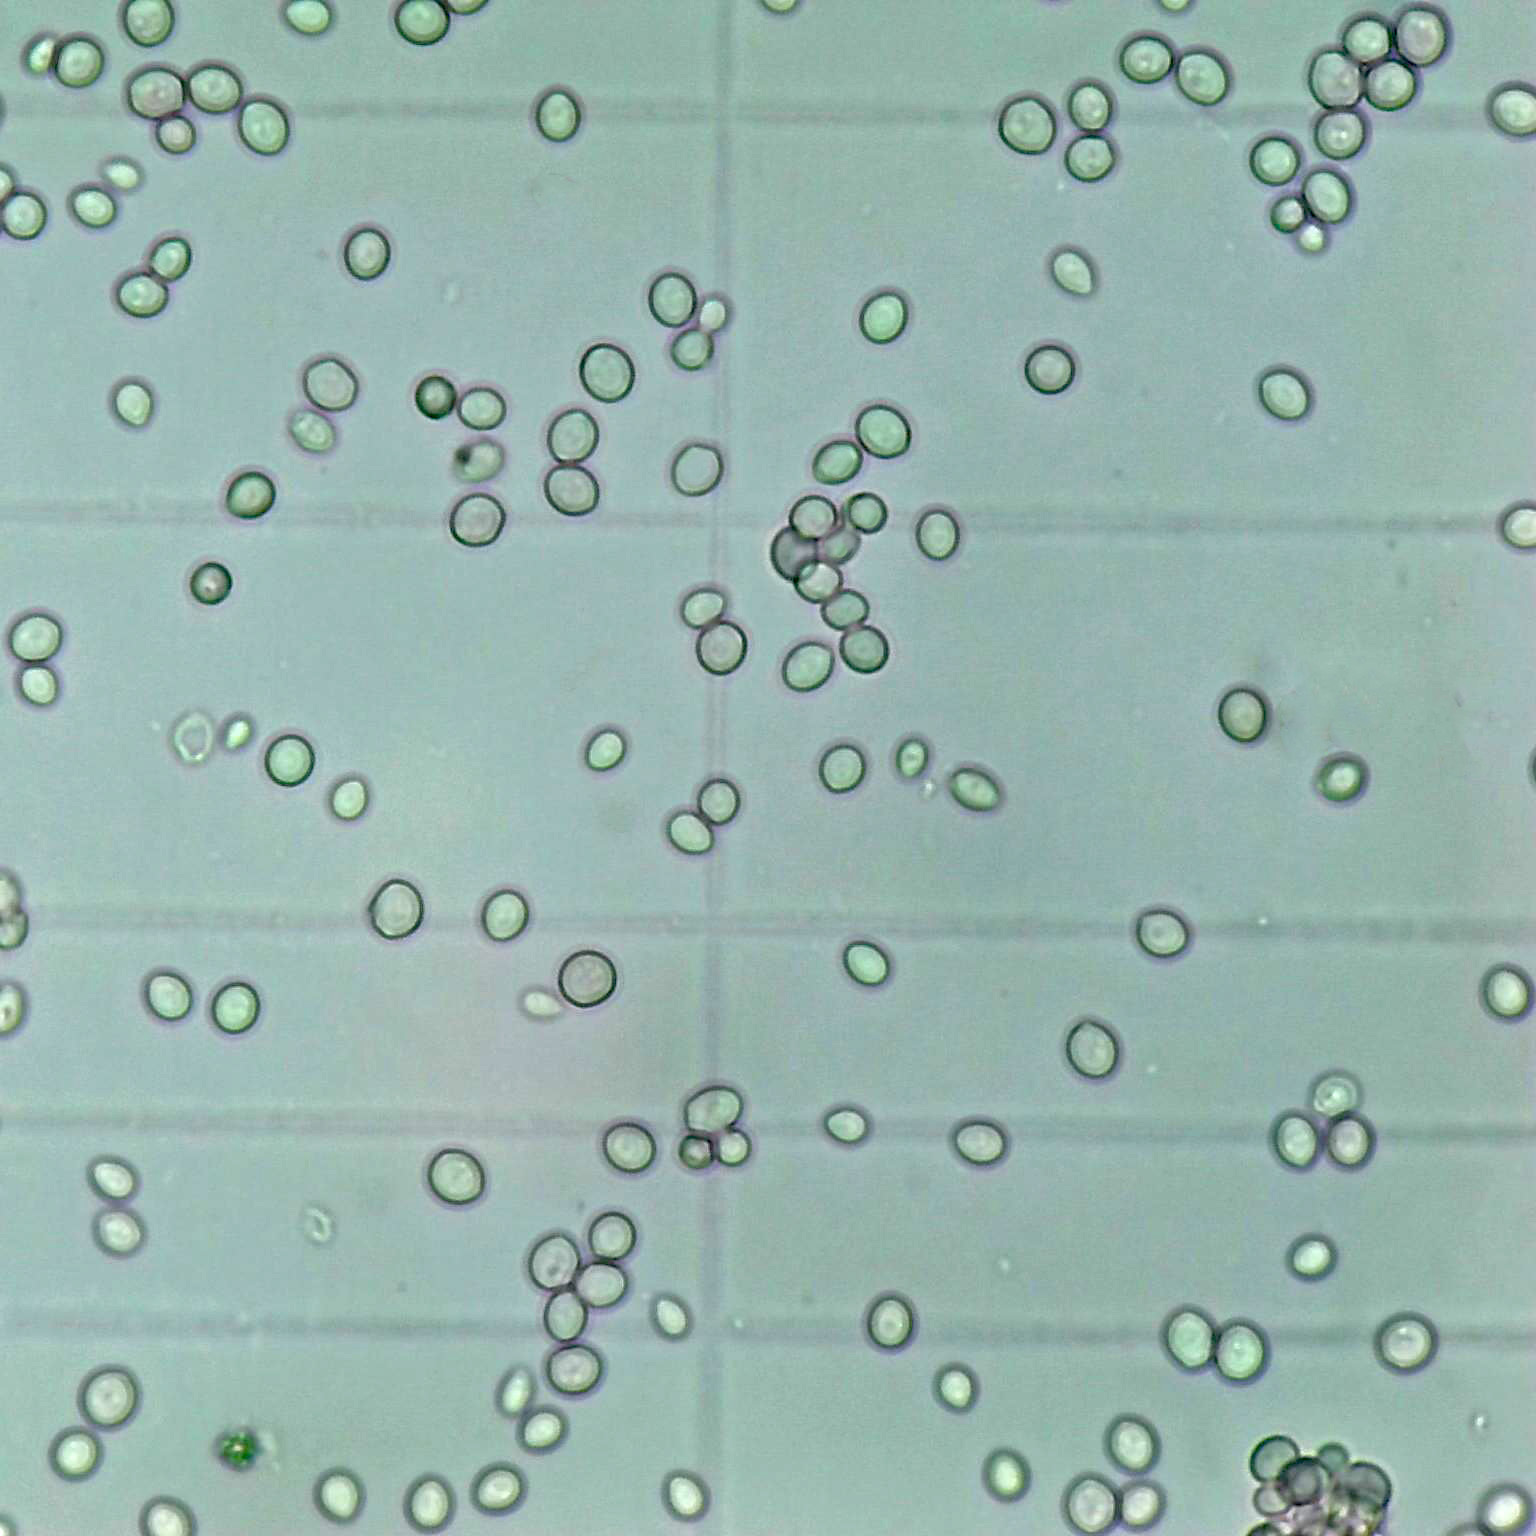
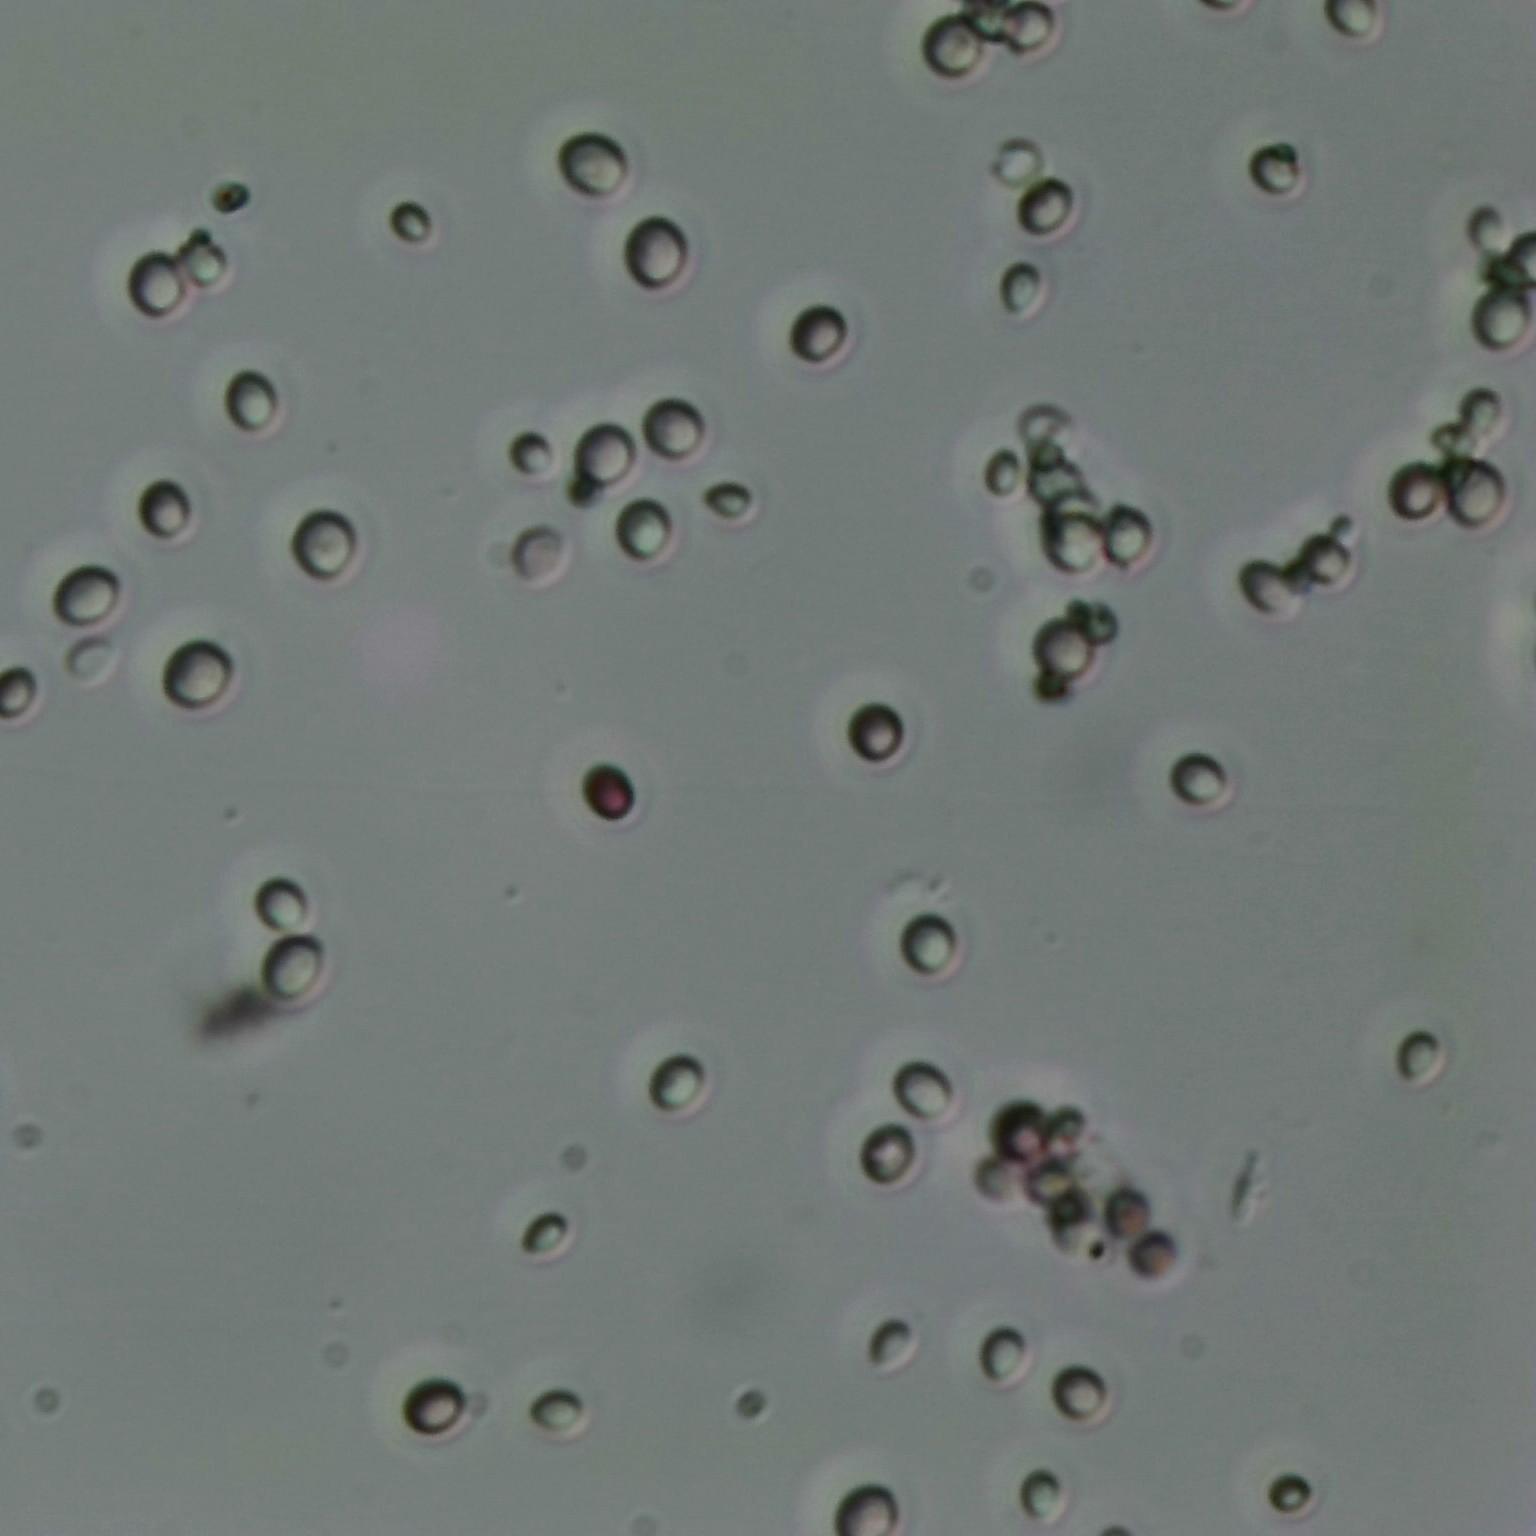
Below you will find further examples that show an optimal focus with good brightness for automated evaluation:
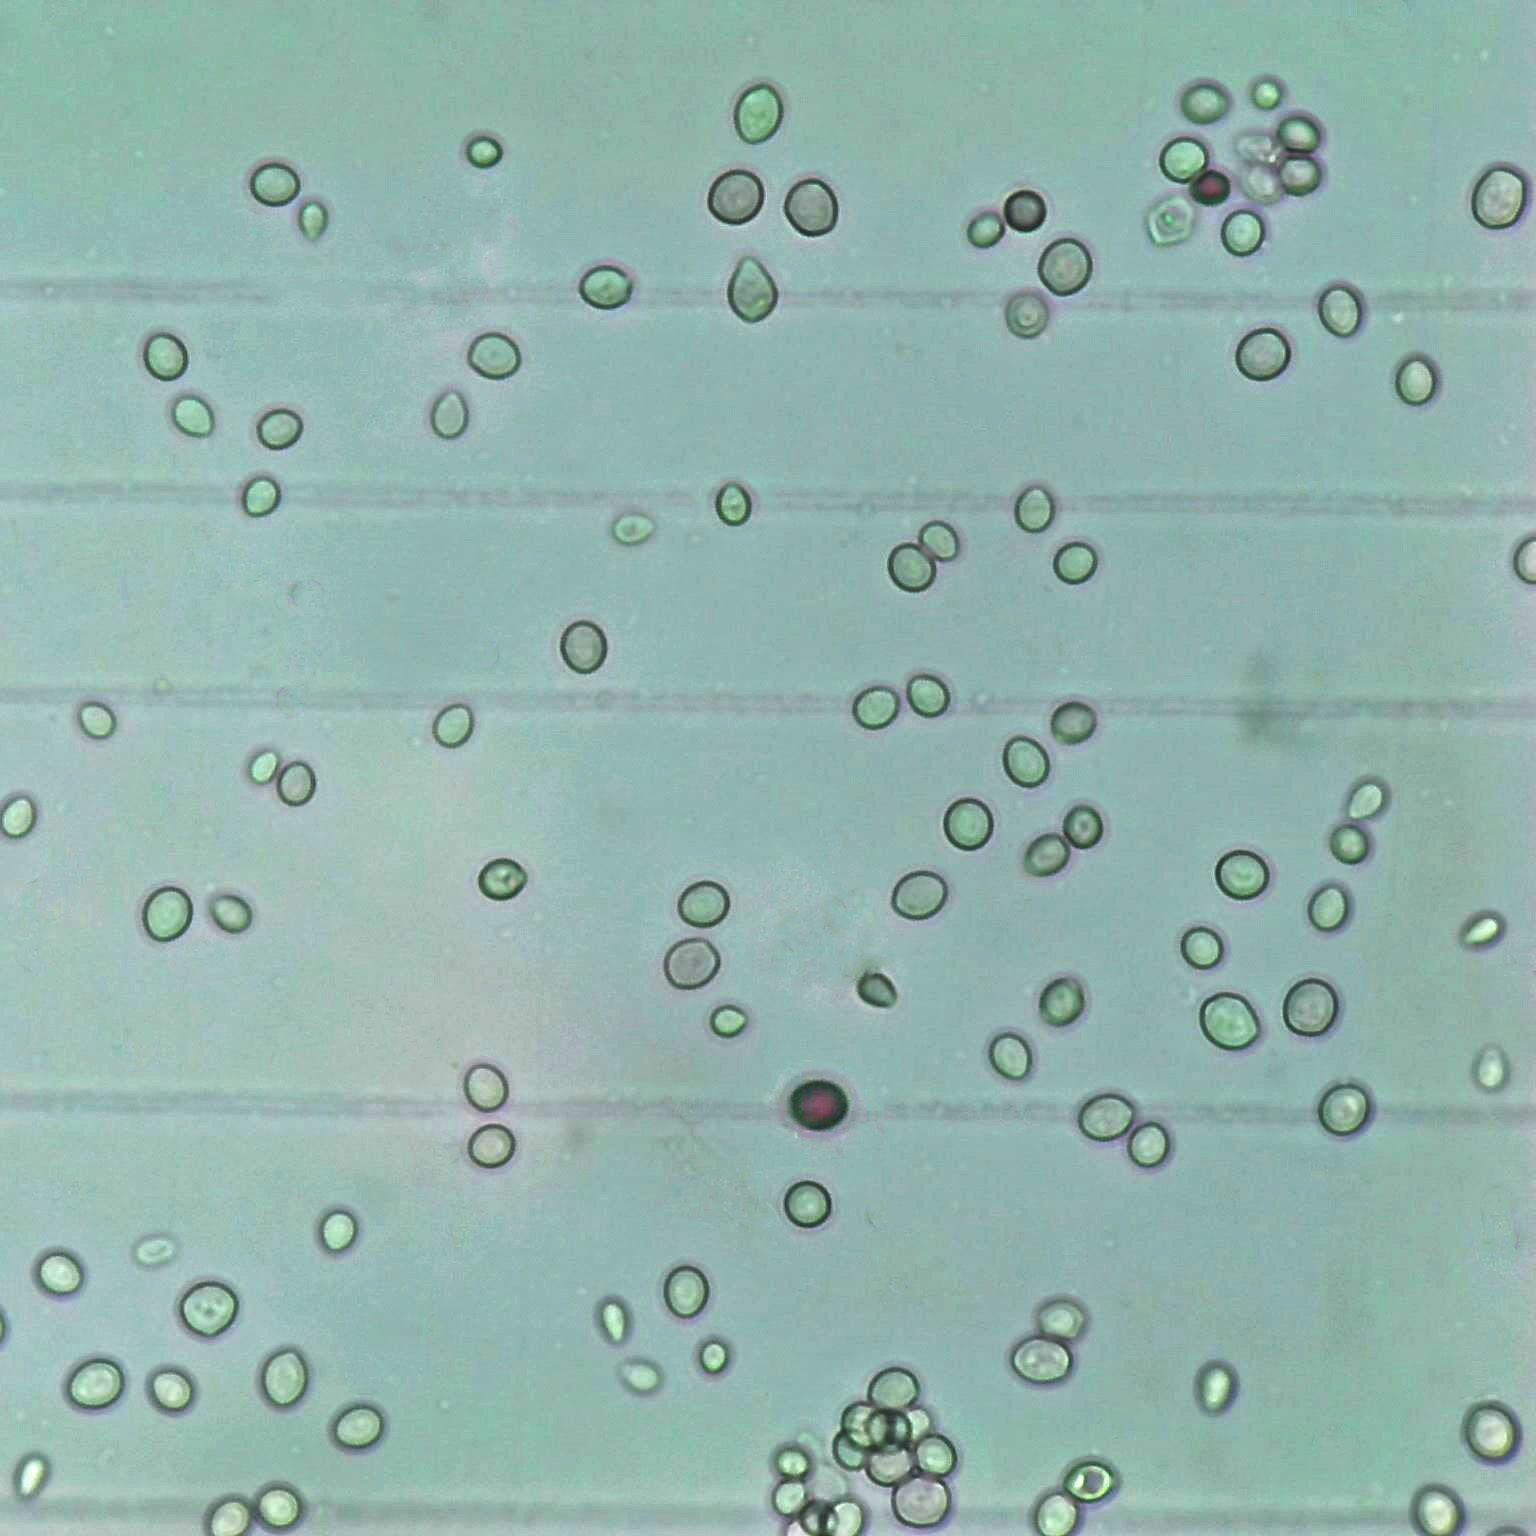
Below you will find an image where the light is not passing through the cells in a straight way but at an angle.
As you can notice, the cells have shadows and the borders are lighter on one side than the other. To correct this we recommend to align the light path according to Köhler Illumination.
These are some tutorials that may help when trying to align the light path: