Propagating Wine Yeast: How to Multiply Yeast To Save Money
When did wine making become so complicated, right? Once upon a time, wine making was a simple task with simple steps.
And propagating yeast was the least of your worries!
Today, you’ve been sold on all the tips and tricks (expensive tips and tricks!) that are “absolute necessities” to making great wine.
It does not have to be that way, though.
If these latest economic upheavals have given us any gifts at all, the primary gift has been the reminder that we have the power, and perhaps an obligation, to become self-sustainable.
And to that end, wine makers are a much more powerful bunch that perhaps you even realize.
Making Wine: Keep It Simple

Any winemaker passionate about wine knows that winemaking is supposed to be simple.
At its most basic, it truly is the nectar of the gods.
It is merely fermented fruit juice. And what amazing fermented fruit juice it can be.
In the beginning, a wine maker, large or small, would grow a select set of grapes for wine.
Wine grapes are typically much sweeter because yeast is attracted to sugar and needs all that sugar to make the alcohol we’re all hoping for in wine.
Especially if you are hoping for a sweeter wine, you want extra sweet grapes. Then, you can halt fermentation as it slows down, say after primary fermentation, and remove the yeast so the wine will stay sweet.
Those grapes, once grown, would be harvested and crushed. (Think of that classic scene from the American television show I Love Lucy.)
Usually, the grapes are then allowed to sit in their juices to get all the tannins and polyphenols from the skins and stems of the grapes.
Then, the solid material will be filtered out of the juice and the juice will be left in the open air, with a covering to prevent any further debris or bugs from getting in.
It is at this point that the natural yeast in the environment will be attracted to the sugars in the must.
After several days to a couple of weeks, you will have fermented grape juice, or wine.
In that fermentation time, you have fresh yeast consuming the sugar in your must and converting it to alcohol and carbon dioxide.
The carbon dioxide naturally lifts out of the open vessel, and the alcohol remains.
The yeast has done its job.
But with the rise of industrialization, commercial corporations began to gather and package yeast for bakers, brewers, and wine makers, which, of course, we are grateful for!
We don’t have to allow nature to take its course and hope for the best.
Now we can buy a yeast we know and love that will provide us with an excellent batch of wine.
The problem arises when we lose touch with the simplicity of winemaking and become dependent on those corporations to provide us with the yeast we need.
And then those corporations, for a variety of reasons, raise their prices.
Now, you don’t want to have to raise your prices on your loyal fan base. You have worked too hard to earn their love and trust, and you don’t want to betray them.
What do you do?
You propagate your yeast.
Propagating Wine Yeast
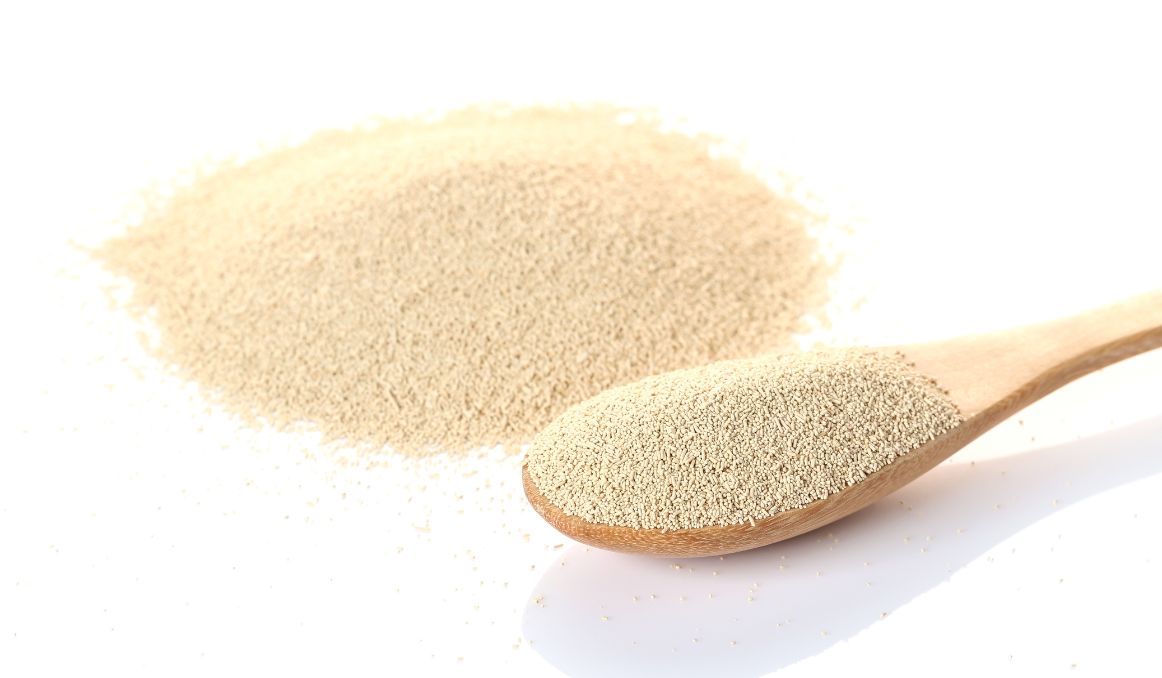
Yeast is a live and active organism, which means it can be grown and multiplied, or, in other words, propagated.
Just like you can grow a plant from a seedling, or get eggs from a chicken, you can grow more yeast from the yeast you have.
And it will save you a ton of money.
For a single person making wine at home, propagating yeast does not make much sense because you won’t be making enough wine in a quick enough period of time to warrant growing and storing your own yeast.
But for even a small winery, it can save you time and money.
It can also alleviate your worry over the biggest concern for any vintner – consistency.
There are two methods to saving money with your own yeast: first, you can rinse your yeast after primary fermentation and use it again. This will get you at least 5 or 6 batches after the first one, and in between batches, the yeast will last at least two weeks in cold storage, and potentially much longer.
Be sure to keep a regular count of your (alive and healthy) yeast cells in your batch with a yeast cell counter, so you will know when your yeast is stressed out or simply done fermenting for you.
The second method is to propagate a small portion of yeast when it arrives, before it is used for fermentation.
Propagating a fresh portion of yeast that has never been fermented will allow you to create your own yeast bank that could continue to propagate indefinitely.
You will essentially be doing what the commercial yeast companies do, saving yourself the money you will spend, the time for delivery, and cutting out the middle man entirely.
To propagate your yeast, first be sure you find a yeast you love, one that has performed for you well in the past, and one you hope to have around for a long time.
Next, gather your tools:
- Kitchen scale
- 5 Liter Erlenmeyer flask (borosilicate glass)
- Dry Malt Extract (DME)
- Yeast
- Canning jars and lids
- Fermcap S Foam Control
Now, clean and sanitize all of your equipment, and add 100 grams of DME to your flask per liter of water. A safe bet is 300 grams of DME to 3 liters of warm water. Add your DME first so the water will rinse the DME into the flask.
Swirl your flask to mix the ingredients.
Now add a drop or two of the Fermcap Foam Control so it does not boil over.
Place aluminum foil on the top of the flask, with the stir bar held inside, and bring to a boil on your stir plate.
Allow to cool and add your yeast.
Within 24 hours, you will see a milky white substance in your flask that is your propagating yeast.
You can divide the yeast into jars and store it in the refrigerator, going back and propagating again as often as you like.
Now you have your yeast bank!
Note that larger wineries may do well to invest in a yeast propagation tank, or yeast propagation system, which has its own top plate for a full hygienic operation, with some tanks even cleaning and sanitizing themselves in between propagation cycles. Again, it is quite an investment, so it only makes sense for those vintners making a ton of wine, but if you have one, it will get your yeast propagation done with the touch of a button.
Cheers!
Yeast activity monitoring is essential for optimizing the process of yeast harvesting, yeast propagation and repitching! If you’re interested in finding out how you can use our technology to control fermentation and monitor your yeast, save work hours and improve the cost-efficiency of your business, drop us a line at [email protected] or check out the product pages (for wine or beer):
- Oculyze FW (Fermentation Wine) Yeast Cell Counter App + Hardware
- Oculyze BB 2.0 (Better Brewing) Yeast Cell Counter App + Hardware
Also, you can now get access to a fully functional demo account to test our Web App. Completely free of charge and with no commitment to purchase.
Sources:


